
Clean your LPVO in Three Easy Steps

You just spent a significant chunk of your paycheck on a high-end LPVO (Low Power Variable Optic). Whether it’s the crystal-clear Schott ED glass of a Gunnr Odin or a duty-rated Vortex, there is one universal truth in 2026: a dirty lens is a liability.
We’ve all seen it—the shooter at the range using the tail of a sweaty t-shirt to “clean” their $2,000 optic. Please, for the love of your precision, don’t be that person. Dust and grit act like sandpaper; one wrong wipe can turn your multi-coated lens into a scratched-up mess.
Here is how to clean your LPVO like a professional in three easy steps.
Step 1: The “De-Gritting” (Air & Brush)
The most dangerous thing you can do to a lens is rub it while there is visible grit on the surface. Before a cloth ever touches the glass, you must remove the “sandpaper.”
- The Tool: A handheld air blower (like those used for cameras) or a soft-bristled Lens Pen brush.
- The Action: Hold the optic upside down so gravity pulls the dust away. Give the lenses several puffs of air. Then, use the soft brush to gently flick away any remaining particles from the edges of the housing.
- Why it matters: This step ensures that when you do wipe the lens, you aren’t grinding microscopic rocks into the glass coatings.
Step 2: The “Gentle Lift” (Microfiber & Solution)
Now that the abrasive grit is gone, it’s time to tackle the oils—fingerprints, facial grease, and carbon buildup.
- The Tool: A clean, dedicated microfiber cloth and a specialized lens cleaning solution (or even just your breath for a quick field fix).
- The Action: Apply a small drop of solution to the cloth, not the lens itself. Starting from the center of the glass, wipe in a circular motion spiraling outward toward the edges.
- Gemini’s Warning: Avoid household glass cleaners like Windex. The ammonia and harsh chemicals can strip the specialized anti-reflective and hydrophobic coatings right off your high-end glass.
Step 3: The “Body Check” (Turrets & Housing)
A clean lens is useless if your magnification ring is gritty or your turrets are packed with mud.
- The Tool: A Q-tip or a soft-bristled toothbrush.
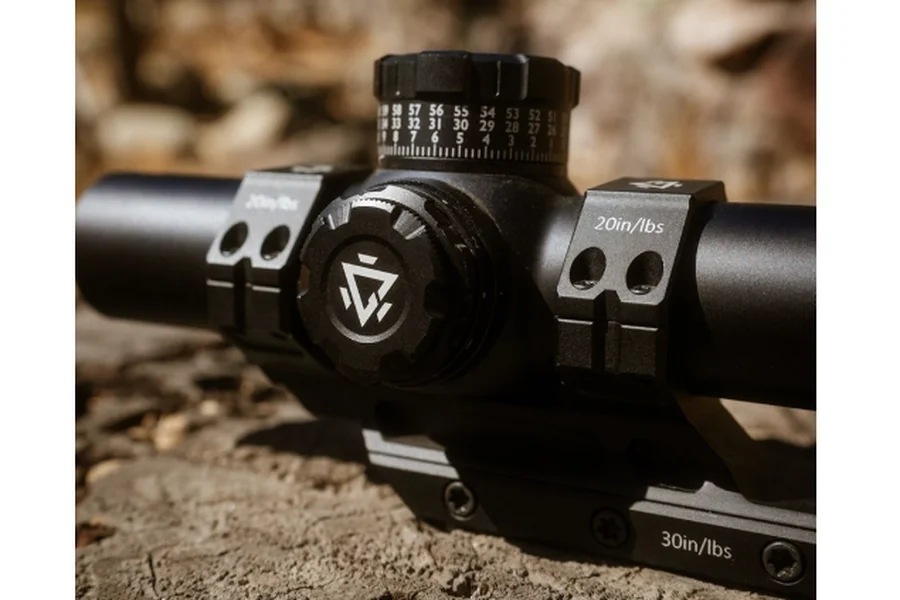
- The Action: Run a dry Q-tip around the crevices of the illumination dial and the magnification throw lever. Check the turret caps to ensure no grit has bypassed the O-rings. If you have a 7075-T6 aluminum housing like the Gunnr Thor, a quick wipe with a damp cloth on the body is all you need to keep it looking factory-new.
- The Final Touch: Check your battery cap. Ensure it’s tight and that there is no corrosion on the CR2032 battery.
The “Pro Kit” Essentials
| Item | Purpose | Why You Need It |
| Air Blower | Dust Removal | Prevents scratches from “dry wiping.” |
| Lens Pen | Detailed Cleaning | Carbon-tip side removes stubborn oils. |
| Microfiber Cloth | Finishing | Must be kept in a sealed bag to stay clean. |
| Lens Solution | Chemical Cleaning | Safe for multi-coated professional glass. |
Clarity is Confidence
A clean optic doesn’t just look better; it performs better. In low-light conditions or long-distance shots, that 5% difference in light transmission caused by a smudge can be the difference between a “hit” and a “miss.” Spend five minutes every few range trips on this routine, and your glass will stay “2026-sharp” for years to come.